Table Of Content
I truly love to see your creations. Sometimes they are, like this one, but often there are multiple versions. So this is a single layer cutting and writing, okay? So I’m going to look for Cricut Alphabet, because that is free for everyone to use, whether you have Access or not and I want everyone to be able to make this the same. This should be a free font for everybody, so we can click it. We’re not gonna really go over that tonight, but just know that you can definitely do that.
How to: Upload Images
And you’ll notice it maintains its ratio. It doesn’t get like skinny, even if I go like this. It still is keeping the shape, and if we don’t want that, let’s say we wanted a chubby heart, we would go over here to the fourth icon in the lower left corner.
How Printed Electronics are Shaping the Future of Space Exploration - Electropages
How Printed Electronics are Shaping the Future of Space Exploration.
Posted: Thu, 29 Jun 2023 07:00:00 GMT [source]
DIY Wedding Invitation Templates – Free “Laser Cut” Set
So I’m gonna click on weld and there we go. When I go to make it, you’ll see it retained that shape. So this is how you can create designs from scratch. And, of course, now go ahead and click cancel, you know, you may not have any interest in doing two hearts like this, but you could do so many things with these tools.
The Templates icon
So about there, and then we click and drag it over to our card. It seems a little bit big, so let’s make that a little smaller. We wanna cut this though, so I’m gonna put it back on cut and go back and change it to red. Of course, I could also have just undone it back to red, okay? Now what I’d really like to do, this isn’t much of a design, just a red heart. I would like to make my own design and so I’m going to duplicate this heart.
Congratulations to Mr. Maker for completing Cricut Kickoff. That looks a little off to me. Maybe it’s the stars that’s doing it.
So when we click the green make it up here, we go to our Mat Prepare screen. And this is another place for us to double check our work before we continue on. So we’re looking to make sure that things are on the mats the way that we think they should be.

Learn how to save and organize your projects in Design Space, then share them with the Cricut Community. Wondering what all the buttons at the top Edit Bar do? This overview provides details on all Edit Bar features such as Linetype, Fill, Size, Rotate, Mirror, Position, and more for editing images and text.
But, when I go to cut it, I’m still not going to get them overlapping. They’re still gonna be side to side. So group is something that we do to keep files together as we’re designing, but not something we do to keep files together all the time.
So this is your canvas for working on. Now, let’s take a look, and there’s zoom in, just a little bit more so you can see this even clearer. I think we can get one more time there. This is, by the way, right here is a zoom.
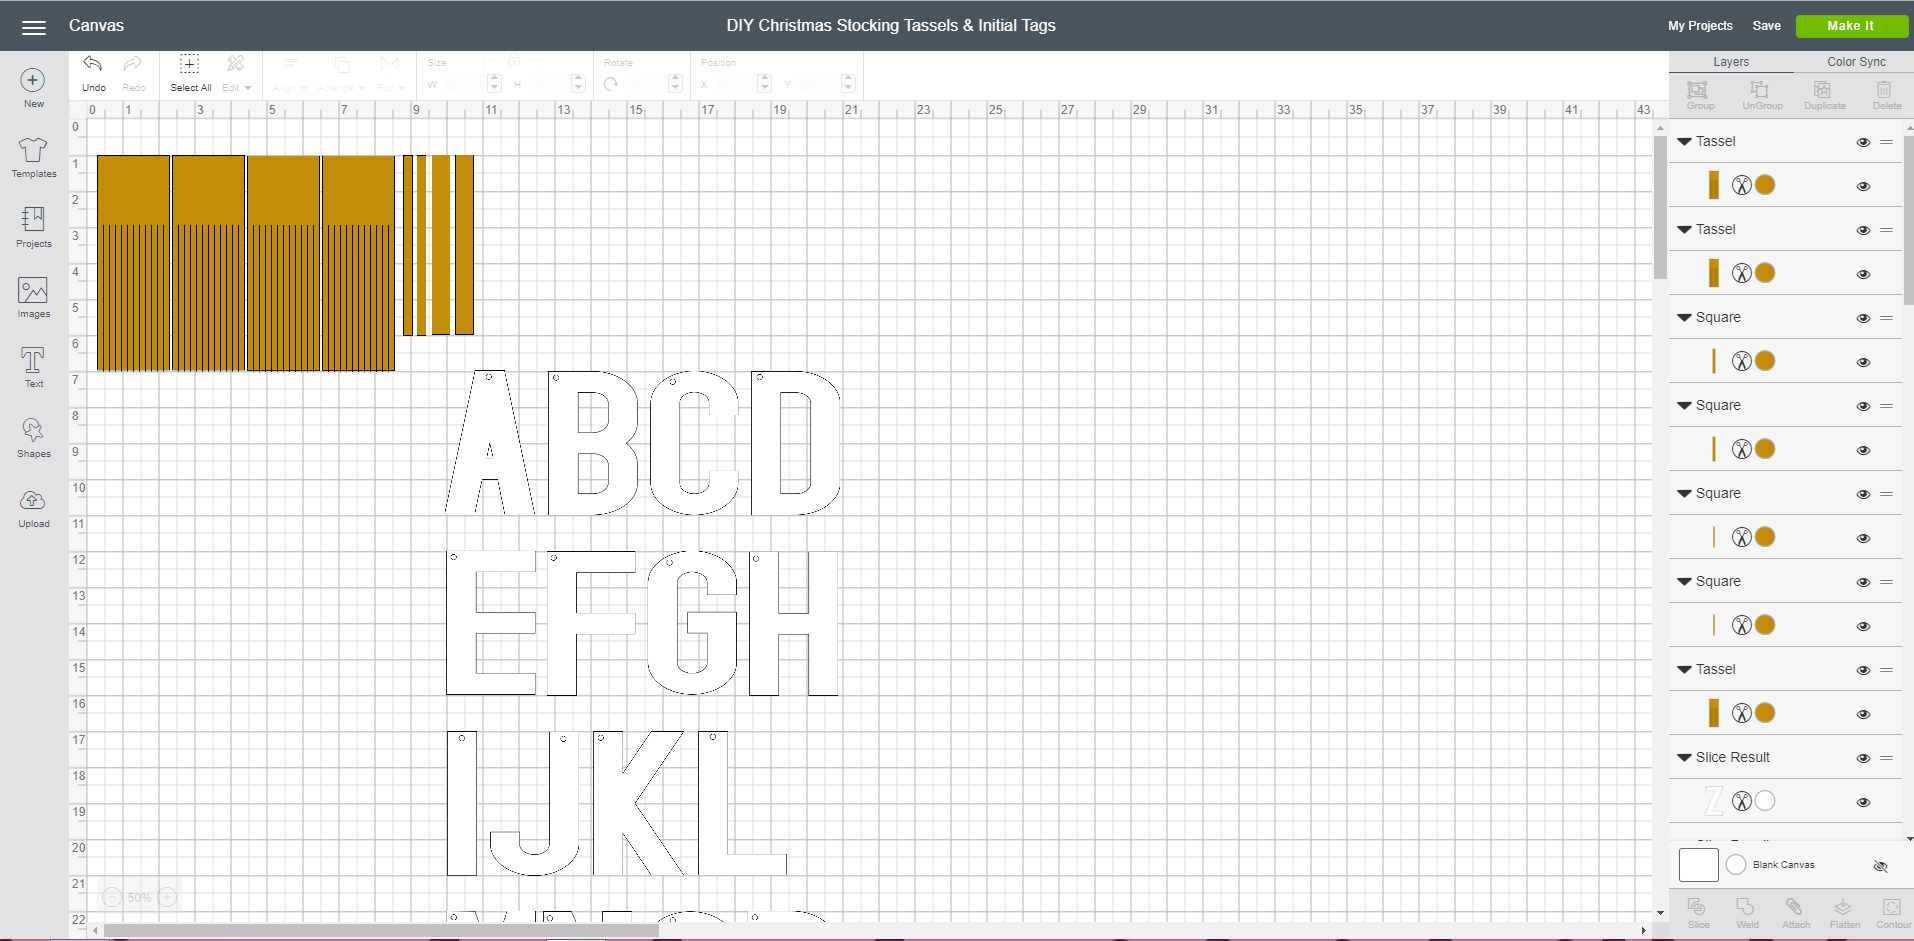
Whenever we upload something that has more than one layer, Cricut automatically groups them. So it’s a great idea to just un-group right away, because it makes it easier. Just get into the habit of ungrouping them, unless, you know, you’re following a tutorial that says, just go for it and click make it, ’cause I have lots of tutorials like that. But for this one, I want you to ungroup them because that allows us to operate and use these layers independently, which is important. All right, so this layer here, it’s all ready to go, so we’re just gonna put this down here out of our way.
Let’s see, so one way is to right click on your mouse, if you’re using a mouse and you get the contextual menu. It lets you do a lot of things right from here. If they’re grayed out like these are, that means that that’s not option right now because of the image that you’ve chosen. But right now, I can cut it, by the way, cut means not to cut it on your machine.
All everything that we want to draw is set to the draw and the layer that we want to cut, which is the yellow layer, is set to cut. All right, well, I think that we’re ready to go ahead and click make it and actually make this. So it stores everything you upload. Unless you tell it to delete, it keeps and that’s very useful.
Now, right now, they’re two separate hearts. We can tell because when I click on them, the border is around that each one individually and over in the layers menu, I have one heart here and one heart here. And even though I’ve arranged them the way that I want, they will not cut out this way yet. We have to give our Cricut more instruction than this. So when we’re ready to make a project, we click on the green make it button here in the upper right-hand corner. So I’m gonna go ahead and click that.
So there’s also deboss, wave, perf, which means perforate, and then foil and the different tips. The Upload button allows you to upload a variety of images to your Canvas. To learn how to upload SVG cut files, please watch my detailed training series at SVGs Made Simple. You can upload your own images or use the library of over 160,000+ images in Cricut Design Space. You can use your own fonts alongside the library of fonts already available in Design Space. You’ll find hundreds of ready to make projects too.


No comments:
Post a Comment